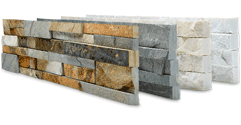
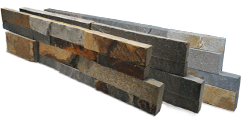
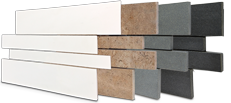
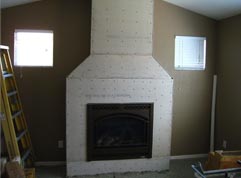
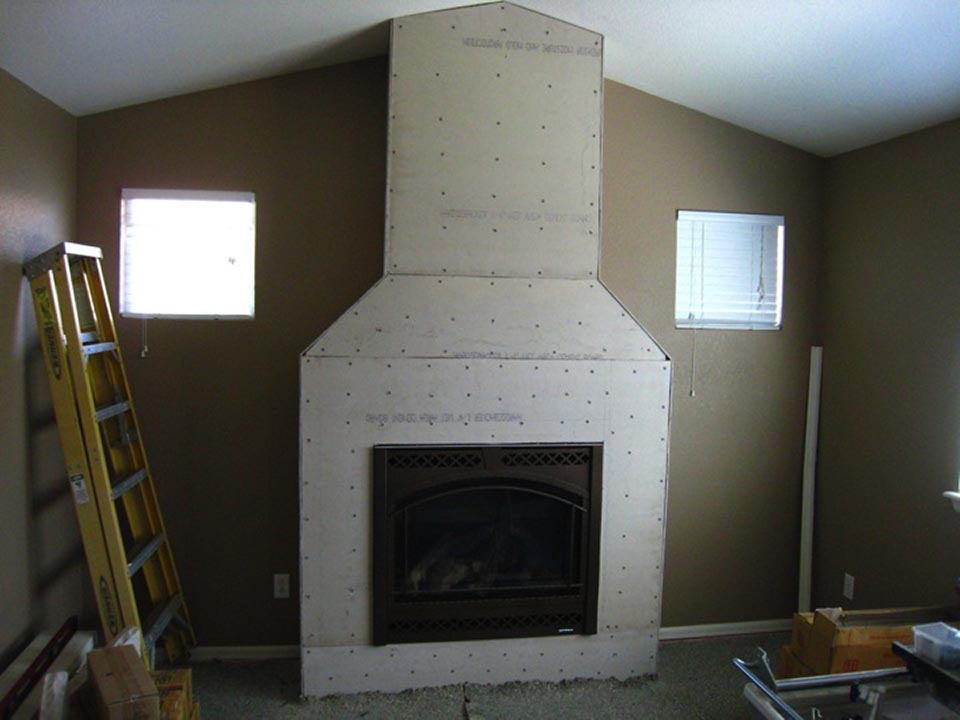
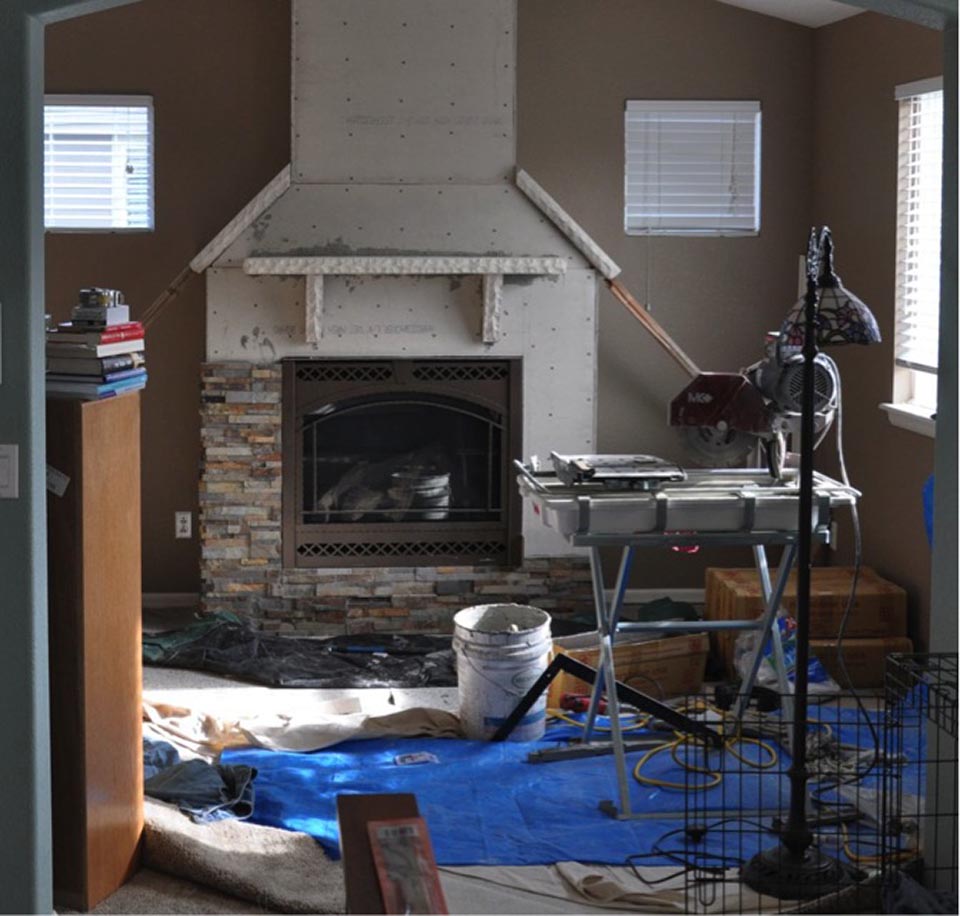
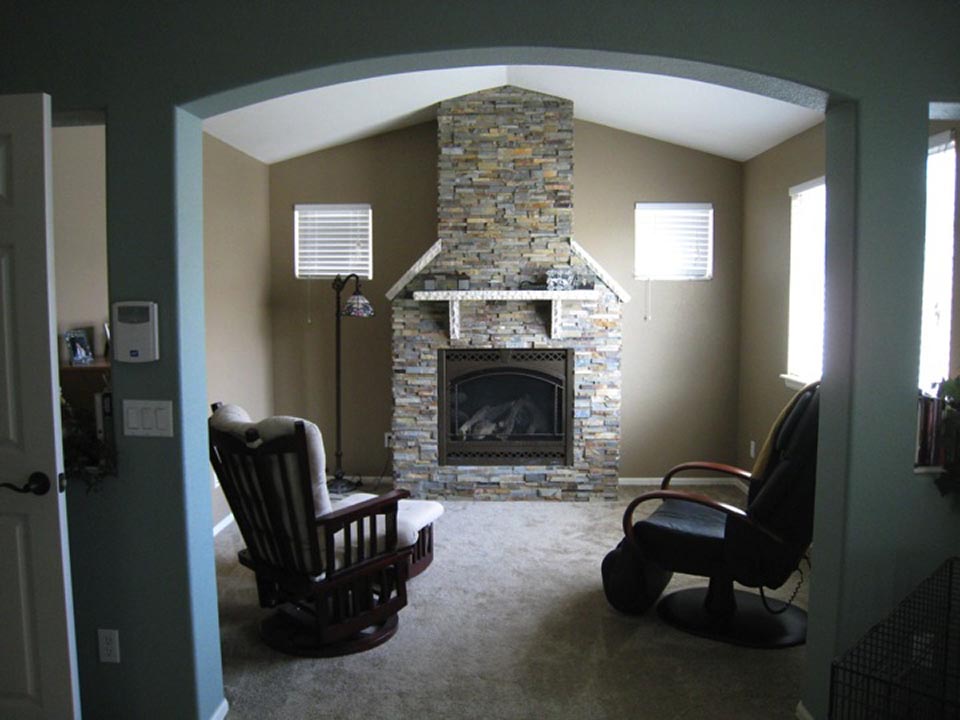
How to install Norstone Stacked Stone Veneers on a wall
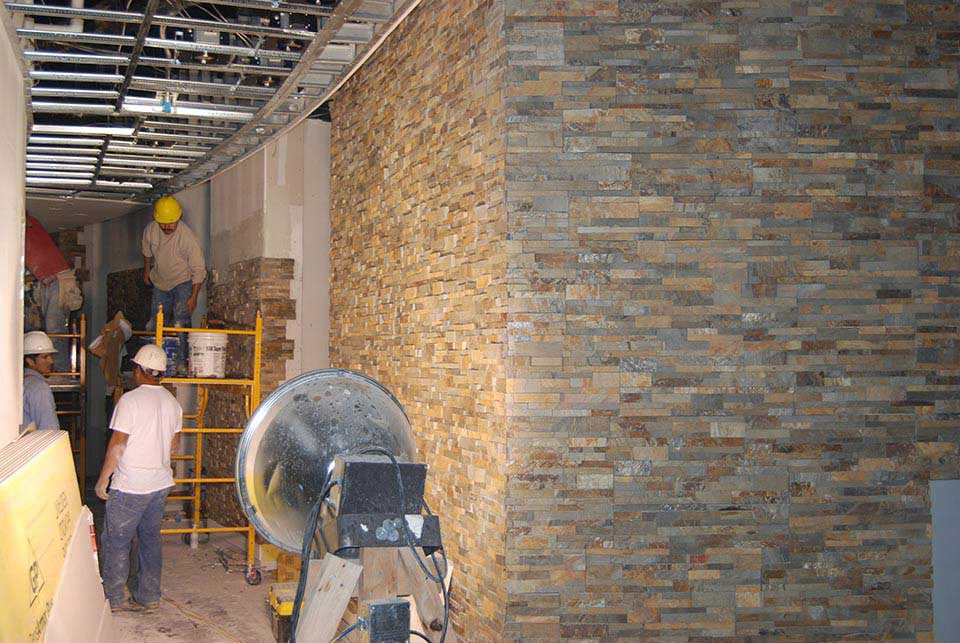
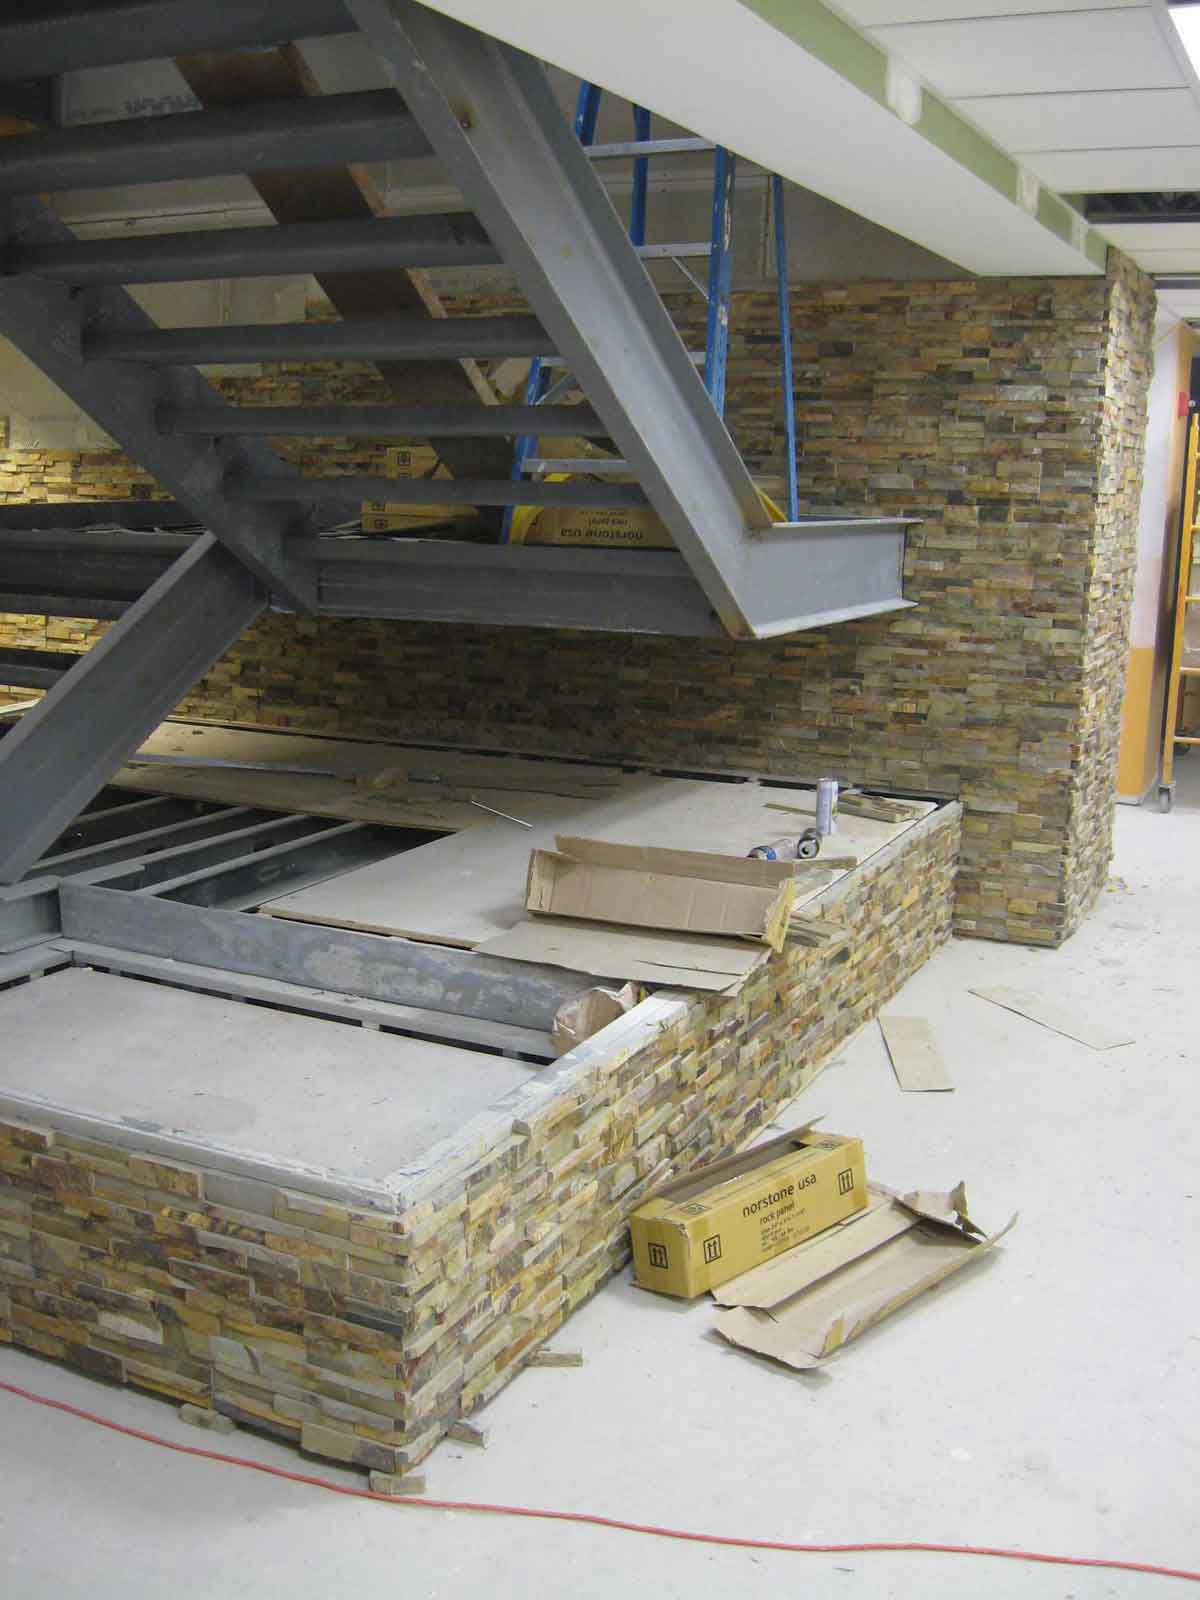
Below, you will find an installation diagram as well as a technical download section, each containing a wealth of information describing how Norstone Stone Veneers are installed in everyday situations, from stacked stone fireplaces to interior stone feature walls. It covers the basics of the tools and materials required, applicable substrates, and recommended installation techniques. While every application is different, Norstone stacked stone veneer Rock Panels are quick and easy to fix to any wall using a good quality tile adhesive. Compared to building a traditional stacked stone wall, Norstone Rock Panels make it possible to cover a large wall in a short period of time because of their large size (6 inches x 24 inches) There is no need for grouting, therefore once they are laid the job is finished. Be sure to stop by our blog too, where we tackle more unique situations, such as installing stacked stone over brick.
Required Tools
Trowel
Thinset

Level
Tile Saw

Sponge

Other tools may include: grout float, angle grinder
For architectural details, click links above
Dry wall is not a suitable substrate
Setting Materials
Setting Materials must meet ANSI 118.4 and 118.11 standards.
Mastics are not suitable for use with our Rock Panel line.
Preparation
Tools and material needed
A quality brick or tile wet saw is a critical tool for installing natural stone tiles. A saw with a tilting blade is optional for angled cuts, such as 45 degrees, to form mitered corners or other angled pieces if necessary. An angle grinder may be used for cutting stone to fit around small protrusions in the wall such as pipes, steelwork etc. Additionally, the following tools will also be required for installing Norstone Products: a steel trowel, notched trowel, scraper, stiff wire brush, masonry brush, large sponge, polymer modified tile thinset.
Substrate Preparation
Natural stone tiles are heavy, therefore it is critical that they are adhered over appropriate substrates. Norstone products may be applied over any prepared masonry / cementitious surface such as cement board, concrete block, brick, cement, or lathe & scratch coat combination. NORSTONE PRODUCTS SHOULD NOT BE INSTALLED OVER DRYWALL OR SHEETROCK. Painted surfaces must be sandblasted, or otherwise stripped of paint before installing and if a new wall needs to be built, or layer added to an existing wall, the most suitable product for these purposes is cement board.
The substrate and wall should be structurally capable of supporting the weight of the product, which will range from between 7 lbs to 12.5 lbs per sq ft, depending on the product. The fibrous cement board must be a minimum of 1/2 inches thick to support the weight of these products and should be securely fixed to the wall's framework. We suggest that the board should be glued and screwed to the frame, screwing at 24 inch centers using screws that are a minimum of 2 inches long and covering the entire frame, where contact with the cement board is made, with a good quality mastic type adhesive. To ensure safety, strength and permanent fixing, this work should only be done by a qualified and licensed builder.
Installing Norstone
Each product should be checked and made free of dirt, sand, or loose particles. When necessary, wash them completely. If the back of the product is dry, dampen it first with a wet sponge, but do not saturate. This prevents the stone from pulling the moisture from the adhesive, allowing it to cure naturally and with a stronger bond.
The recommended type of polymer modified tile thinset will meet or exceed ANSI 118.4 and 118.11 adhesion standards, and are generally available from the same retailer where Norstone products are purchased or at any tile shop and most big box home improvement stores. Tile thinsets are rated for both interior only and interior / exterior work, so it is important to use a thinset meeting the requirements of your installation. Mix the appropriate tile thinset to a creamy consistency for a minimum of 5 minutes or as per manufacturer's instructions. When fixing natural stone tiles it is necessary to start the bottom row on a level line to maintain a consistent level as you work up the wall. It is also important that they rest on a secure base such as a concrete floor or footing to help carry the weight and ensure the level stays consistent until the thinset sets up.
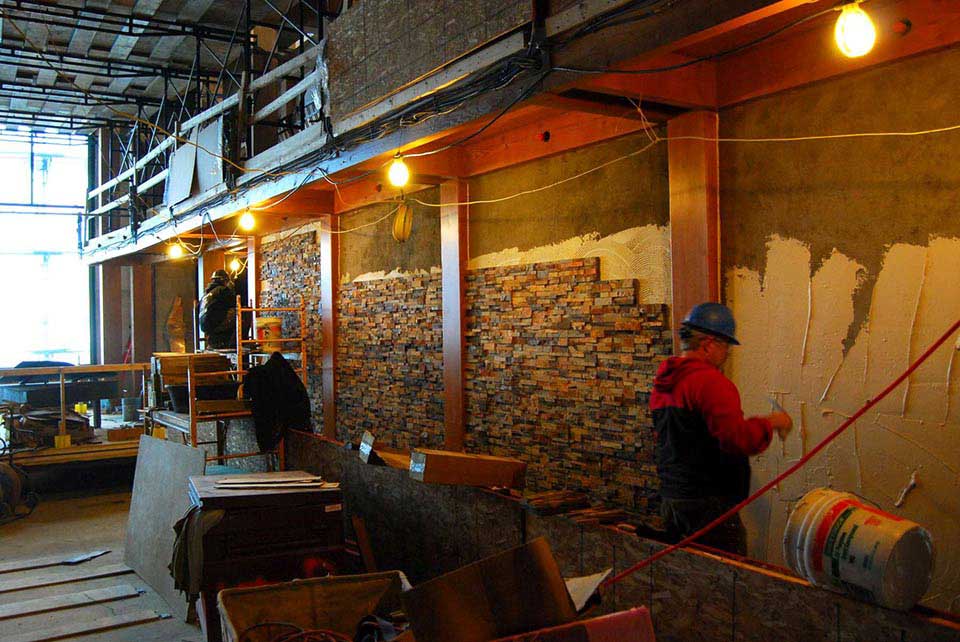
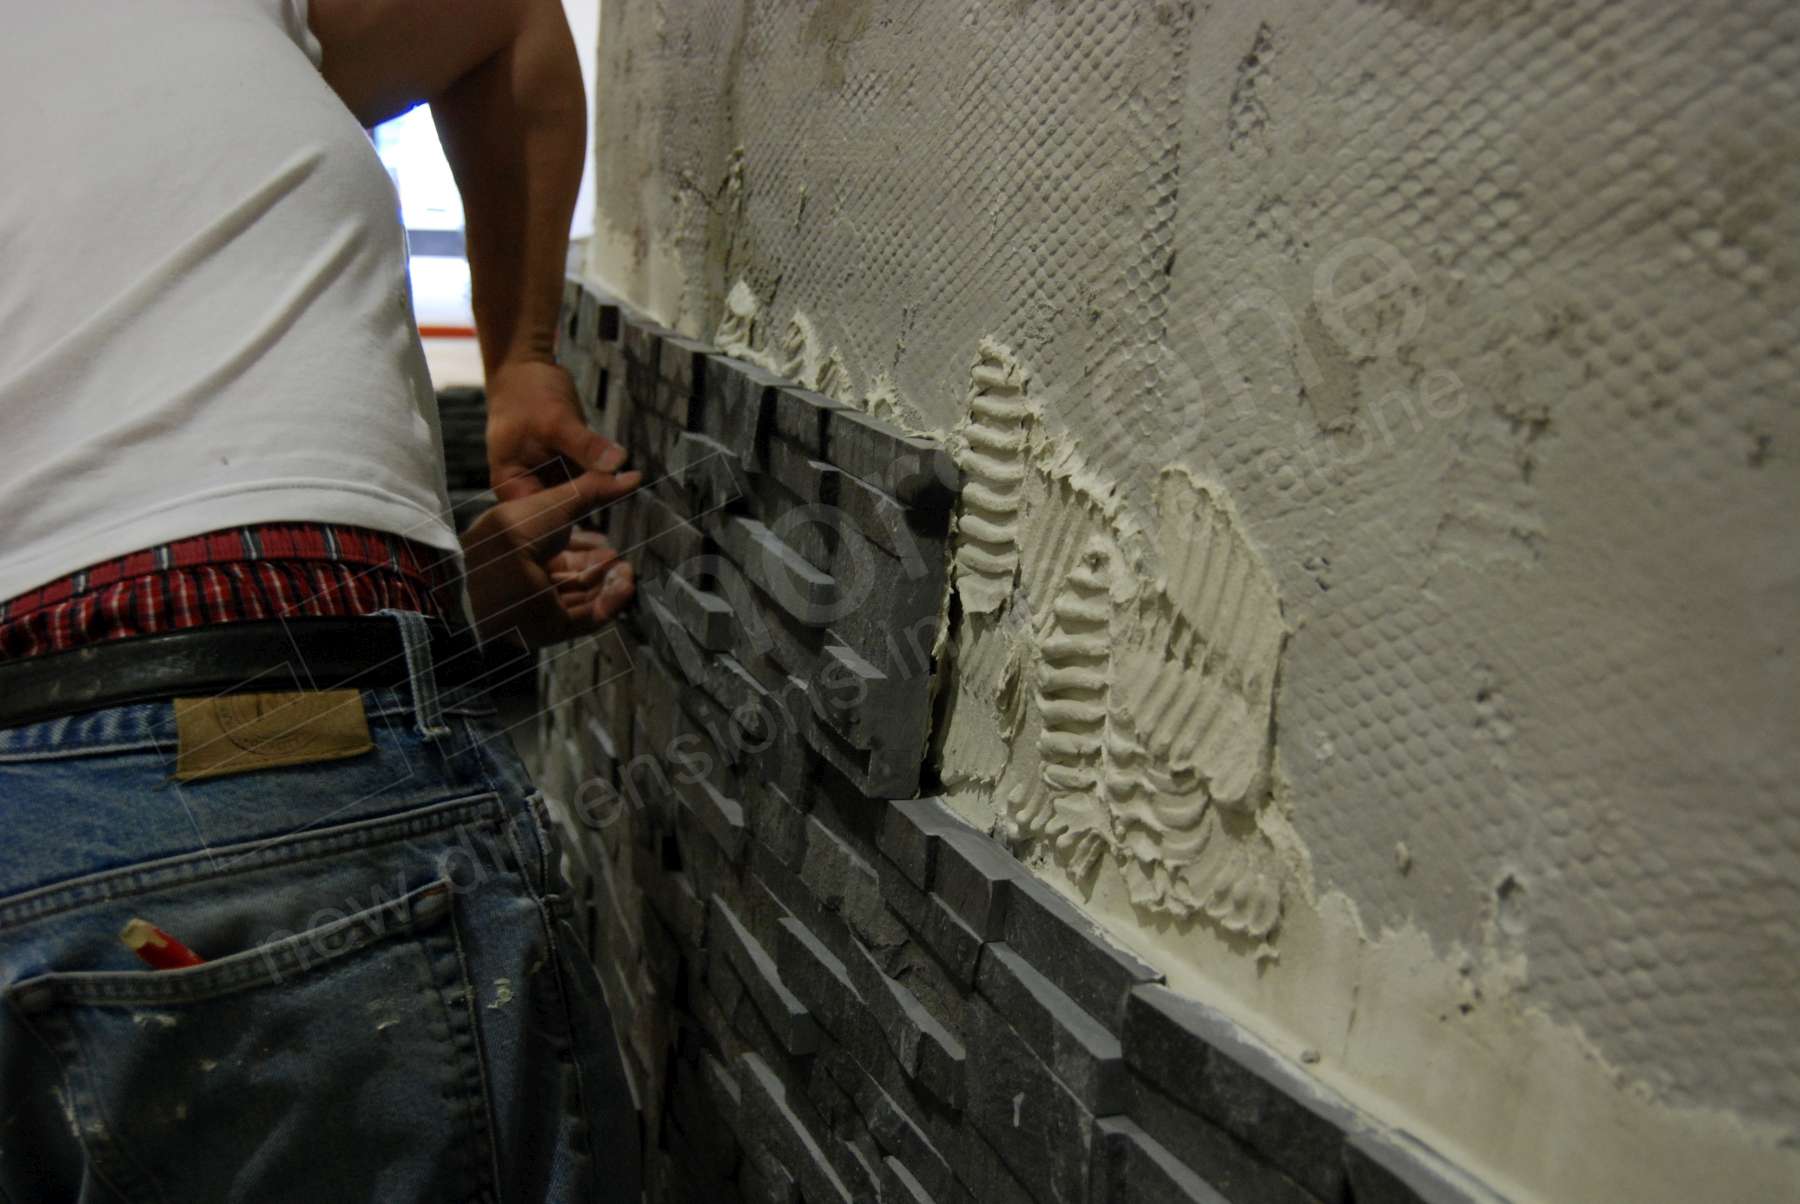
When installing Norstone products use a generous amount of recommended polymer modified tile thinset and apply it to the back of each tile and to the wall. It is important to notch the tile adhesive on to the wall as would normally be the application method used for laying tiles. By applying the adhesive to the back of each tile and to the wall, this ensures the maximum possible adhesion to your wall surface, as all the gaps, voids and cracks are filled. This is a critical to ensure that a strong bond is formed with the wall. Press each rock panel into the adhesive, rotating slightly, forcing some of the thinset to squeeze out freely. Any thinset forced out beyond the finished joint or on the tile surface itself must be removed before it is allowed to set. Remember tight joints will provide a neat appearance. Be sure not to allow any thinset to harden on the face of the tiles as this will help in the cleanup process.
The installation pattern of the product should be strictly followed during installation. For example, Rock Panels and XL Rock Panels should be overlaid or offset so that a "continuous running bond" pattern starts to form, which minimizes the appearance of vertical joint lines up the wall. The panels should not be "stacked" one on top of the other in a single line up the wall.
Working with Corners
Rock Panels & XL Rock Panels
Outside corner units are available that work as a two-part, finger-jointed system. Corner units provide the most seamless look possible, require no special skills or tools, and are very quick to install, greatly reducing onsite labor costs. An alternate option for forming outside corners, or for corners that are not at 90 degrees, is to miter cut field units on site. To miter cut an outside corner, select one rock panel and mark the point where the join should be. Cut the panel at the mark with no tilt, or at a 0 degree angle on the saw. Then the two pieces need to be individually cut on a 45 degree miter to form a right angle. Once cut, check the panel to make sure it forms a perfect 90 degree corner. The color, the width and thickness of the stone pieces should match to form a continuous look that seems to "flow" around the corner. Never use 2 different panels to form a corner, as the color, texture and thickness will not match as desired.
Inside corners are ideally formed by cutting the stone with a standard inside corner miter cut. Inside miter cuts, where the stone folds into itself, are easy cuts to perform on site with a tilting wet saw. Alternatively, two panels can be butt joined together at the inside corner, and any gaps filled in with pigmented mortar if a tilting wet saw is not available.
Lynia IL Tiles
There are a number of options available in which to handle outside corners for the Lynia IL Tile product. An aluminum or stainless steel trim piece may be used to give an external corner definition, forming a functional and attractive finish for which the Lynia IL Tile can be butt up against. A second option is to use strips of Lynia in matching lengths and widths and installing them parallel to, and on both sides of, the outside corner, to form a border, from which tile units can be cut and laid against.
Internal Corners are best handled by cutting the Lynia IL tiles so that they butt join neatly with a small grout gap where they meet on the internal corner.
Good Moisture Management
Natural stone is an excellent choice of building material for any environment and climate, be it interior or exterior, adjacent or completely submerged in water, desert hot or polar cold. Certain products should be used and procedures followed in some of these environments, as noted below:
Moisture Rich Environments – It is critical that a waterproofing membrane meeting or exceeding ANSI 118.10 & 118.12 standards be applied between the substrate and tile adhesive to form a waterproof barrier. This will ensure moisture will not reach the substrate material and potentially degrade its ability to support the veneer.
Freeze / Thaw Climates – Norstone natural stone products will not be affected at all by the normal freezing and thawing of the climate which they are exposed to, however, the same cannot be said about the substrate to which they are applied. It is critical that a waterproof / anti-fracture membrane meeting or exceeding ANSI 118.10 & 118.12 standards be applied between the substrate and tile adhesive to form a water and fracture proof barrier, capable of resisting substrate movement during freeze thaw cycles.
Please reference Norstone's product installation guides for substrate details and alternative waterproofing techniques available for your installation.
Cleaning
Excess dirt and film may be removed using clean water and a stiff brush. It is important not to allow thinset to dry on face of the stone. Remove it prior to it hardening.
WARNING: Do not use acid wash because it has been known to have an adverse effect on stone and can possibly cause staining, etching, and rusting.
Sealing the stone
Natural Stone may be sealed with a penetrating, water based sealer only after thoroughly curing which usually takes 4 weeks on inside work. Follow the manufacturer's instructions on the application of any sealer. Sealed stone may be easier to keep clean and maintain than unsealed stone and certain sealers also repel stains. Always test a sealer on a sample of stone or an off-cut before applying to the entire application to ensure any color enhancing and sheen properties of the sealer match the desired result.
Sealing Rock Panels and XL Rock Panels is recommended for certain applications, such as moisture rich environments, and some exterior applications, depending on the level of exposure and other factors, including climate and other environmental factors. All Lynia IL Tile installations should be sealed. Contact your Norstone representative to discuss whether your project should be sealed.
Summary
+ Ensure the application is structurally sound and prepared with a suitable substrate, such as cement board.
+ Address waterproofing / moisture management through the use of roll on or sheet membrane products if required for the application.
+ Use a recommended tile thinset meeting or exceeding ANSI 118.4 and 118.11 adhesion standards.
+ Apply a generous amount of thinset to the back of each tile and the wall surface to ensure maximum adhesion.
+ Make sure the bottom row is level and straight.
+ Install the tile in a "continuous running bond" pattern, taking care to stagger vertical seams as best as possible.
+ Fix the Rock Panels as tight as possible to each other, avoiding unsightly gaps and use spacers to ensure consistent grout lines with Lynia IL Tiles.
+ Handle corners using either pre-fabricated corner units, standard miter cuts, or manufactured trim pieces.
+ Clean the installation and if advisable, seal the stone with a penetrating water based natural stone sealer.
Disclaimer: The information provided here is intended to be general only. It does not purport to be comprehensive. You should not act on the basis of information contained on this site without obtaining qualified professional advice from a licensed professional which can be tailored to suit your specific circumstances and needs.
Professional Installation Recommended. Norstone rock panels can be installed by most home handymen with a limited knowledge of building and construction. We strongly recommend that Norstone products be installed by professional licensed tradesmen or contractors.
How to Install Stacked Stone on an interior wall
To install stacked stone veneer on an interior wall, you can follow these simple steps:
Step 1. Start by ensuring the substrate is suitable to receive the stone veneer. Interior wall substrates should be cementitious such as cement backer board, brick, or block. Drywall is not a suitable substrate to install stone veneer on. The substrate should be level, plumb, and free of any dirt, debris, or contaminants.
Step 2. Select and mix a thinset that meets or exceeds ANSI 118.4 and 118.11 standards. Mix thinset according to the manufacturer's recommendation and only mix up enough that you'll use in about 15-20 minutes to keep it workable.
Step 3. Chalk or draw a level line up off the floor since many floors aren't level starting point and use that as a starting point, making sure to trim or shim up the first row to level.
Step 4. Apply thinset directly to the wall, spread, and notch using a 1/2" square notch, and lightly spread thinset over the back of each panel to assure full coverage.
Step 5. Set and twist each panel onto the wall to ensure a good bond with the thinset. Work one course at a time making sure to stagger where vertical seams fall from one course to the next, and check your level every few panels to ensure the installation stays tight. Use tile spacers as necessary to keep rows level over slightly uneven substrates.
Step 6. Keep a sponge and bucket of water handy to clean off any thinset that finds its way onto the face of the stone before it dries.
Step 7. Sealing is not necessary for interior wall applications, but can be used to enhance the finish of the stone. Only use water based penetrating sealers and test all sealers on a sample piece of stone to confirm the effect.
Step 8. Reference our detailed installation guide for additional recommendations and detail on installing stacked stone on an interior wall.
How to Install Stacked Stone on a backsplash
Step 1. Start by ensuring the backsplash is a suitable substrate for a stone or tile installation. Stone and tile should be installed over cement backer board in backsplash installations. Drywall is not a suitable base for vertical tile or stone installations. If your backsplash is made of drywall, consider overlaying a thin .25" layer of cement board over the drywall to create a suitable substrate to bond to.
Step 2. Plan to extend the outlets and light switches by adding extenders to the electrical boxes. See this blog article on fixing outlets to norstone. Now is also a good time to plan for and install under cabinet lighting, or any other low voltage wiring that might enhance your project.
Step 3. Source a tile thinset that meets or exceeds ANSI118.4 and 118.11 standards and mix that thinset accordinging to the manufacturer's recommendation. Backsplashes are normallly small and tight installations, so only mix up enough thinset that you'll use before it starts to cure in the mixing bucket.
Step 4. Confirm the level of the counter and chalk a level line on the wall to set the first row up against. Use a small tile spacer to gap the bottom of each panel off the countertop to allow for some slight movement. Go back and caulk that gap post installation.
Step 5. Apply thinset directly to the wall and use a 1/2" square notched trowel to prepare the thinset to receive the stone. Skim coat a thin layer of thinset on the back of each stone to full coverage between stone and wall.
Step 6. Set each panel into the thinset bed with a slight twisting motion to ensure a good connection with the setting bed. Install one row at a time, minding the level line and checking level on every couple of panels.
Step 7. Remove any excess thinset off the face of the stone with a sponge and clean water before it has a chance to dry.
Step 8. Be prepared to make horizontal cuts along the long dimension of each panel depending on the height of the backsplash relative to the 6" height of each panel.
Step 8. Reference our detailed installation guide for additional recommendations and detail on installing stacked stone veneer on a backsplash.
FOR PROJECT SPECIFIC INSTALLATION INFO Contact Us

.png)


